There are 2 different ways we cook rice in our house: on the stove or in a rice cooker. Each way has its own benefits, but both will give you similar and delicious results!
It’s a hard fact in our household we use the automatic rice cooker pretty much every time. It saves effort, it’s efficient at cooking and keeping the rice warm, and it was totally worth the amount we paid for it at the time. It still works today after 3 years of consistent (3 to 4 times per week minimum) service.
Cooking with an automatic rice cooker is super easy. Just follow the proper rice to water ratio mentioned on the package instructions, choose the type of rice on the cooker and press start. Rice will be done and ready to eat in about an hour or less.
Rice cooked over a stove, however, is almost just as easy.
All you need is a saucepan or pot with a lid and a heat source. We use this method every so often, especially when we want to save time. Our automatic rice cooker is very nice, but it still takes close to an hour to cook. With the traditional stove method, you can cook about 4 servings of rice in about 30 to 35 minutes; more or less depending on how much rice needs to be cooked. Shinya has a little camp cooking tin that he uses to cook rice in the same way we show here.
In both methods it is important to follow the ratio of how much water to rice that is indicated on the rice package. The type of rice we typically use is a medium grain rice and this particular batch requires a 1:1.5 ratio of rice to water (we have used other types of rice and it can vary from a 1:1 to a 1:1.5 ratio of rice to water).
But wait! Sometimes we forget the ratio or lose the package instructions and we don’t really want to guess the amount of water to use. In these instances, there is a quick and dirty (but effective) way of judging the amount of water to use. Here’s how:
- Pour the washed and drained rice into cooking vessel (with a lid!). Then, fill with a 1 to 1 ratio of rice to water.
- Make sure the rice in the water is level. You can use a spoon to shift the surface of the rice to be flat in the water. I usually just gently shake the whole pot from side to side until the rice settles flat.
- Observe the waterline and adjust the water if needed so that the waterline is about 1 cm above the surface of the rice. Don’t have a measuring stick? Use your pinky finger. Make sure the rice is level and put your pinky (very lightly) on the top of the rice. Pour the water in to the pot up to your first knuckle. 😊

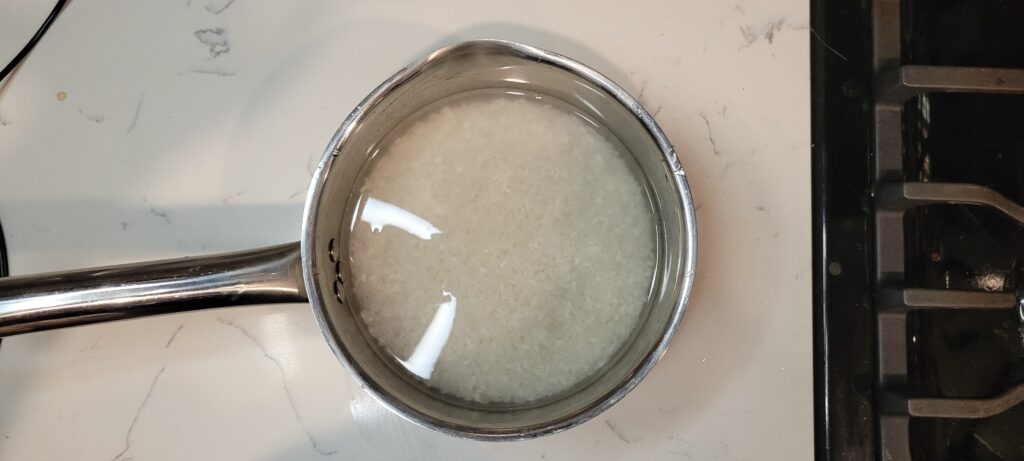
When washing in the pot, you will start off with the water looking like this ^. Your goal is to get it lookin gmore like the picture below.
Kitchen Tools Needed:
- Stock Pot: The size of the pot will depend on how much rice you want to cook. Remember that rice expands as it is cooked. We used a small 1-quart pot for 1 cup of uncooked rice in our pictures here.
- Rice Cooker: The model we use is from the brand Zujirushi. It’s a few years old but I have linked the newest version here.
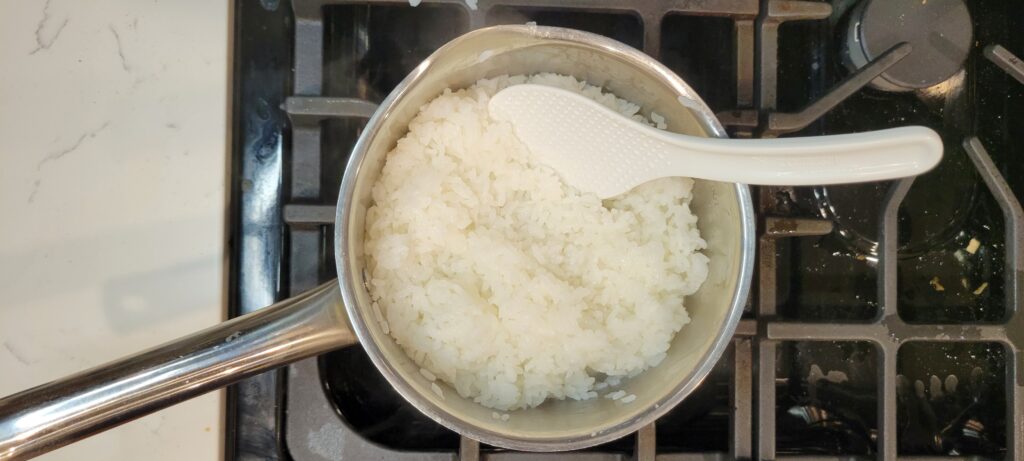
- Rice Paddle: This paddle makes scooping your rice out much easier.
Ingredients:
- Rice: We primarily use medium grain rice, but can also vary based on the particular dish we are making.
- Water: Filtered water
How to make rice on the Stove:
- Wash rice under clean cold water. We wash the rice in filtered water the first time before we drain it. Typically, it takes 7 to 10 wash/drain cycles to get the water relatively clear. We are not rice washing perfectionists here, but we make sure that the majority of the starches are washed off. *Recently, we have been using a medium sized fine mesh colander instead and it seems to be saving a lot of time in the wash process.
- After the rice is well drained, transfer to the pot and add the appropriate amount of filtered water or until the waterline is 1cm above the rice surface.
- Set over a stove set on medium-high to high. Bring to a boil. About 5 to 8 minutes.
- Once boiling, turn heat to low, cover the pot with a lid, and simmer for 15 minutes.
- Turn heat off, remove lid and fluff rice gently, ensuring the rice at the bottom of the pot has been turned over. Preferably, cover the pot and let sit for 10 minutes over the hot stove surface before eating. We think the results tend to be better with the 10 min wait.
- Troubleshooting: If you find that the rice seems dry after the 15 minute simmer, add a ¼ cup (or more, depending) of water and fluff the rice anyway. Then, turn the heat back on to low, cover with a lid again, and cook for another 5 to 8 minutes (look for steam puffing around the lid) and turn heat off, leave the pot on the hot stove for another 10 minutes. We have saved our rice from being too dry by doing it this way.
- If you prefer dryer rice, you could consider using a little less water. Try finding the texture you like by adjusting the volume a ¼ cup of water at a time.
Cooking in a rice cooker:
- Wash rice under clean cold water. We wash the rice in filtered water the first time before we drain it. Typically, it takes 7 to 10 wash/drain cycles to get the water relatively clear. We are not rice washing perfectionists here, but we make sure that the majority of the starches are washed off. *Recently, we have been using a medium sized fine mesh colander instead and it seems to be saving a lot of time in the wash process.
- After the rice is well drained, transfer to the Rice Cooker and add the appropriate amount of filtered water or until the waterline is 1cm above the rice surface.
- Set the cooker to the appropriate setting according to your manufacturer’s instructions.
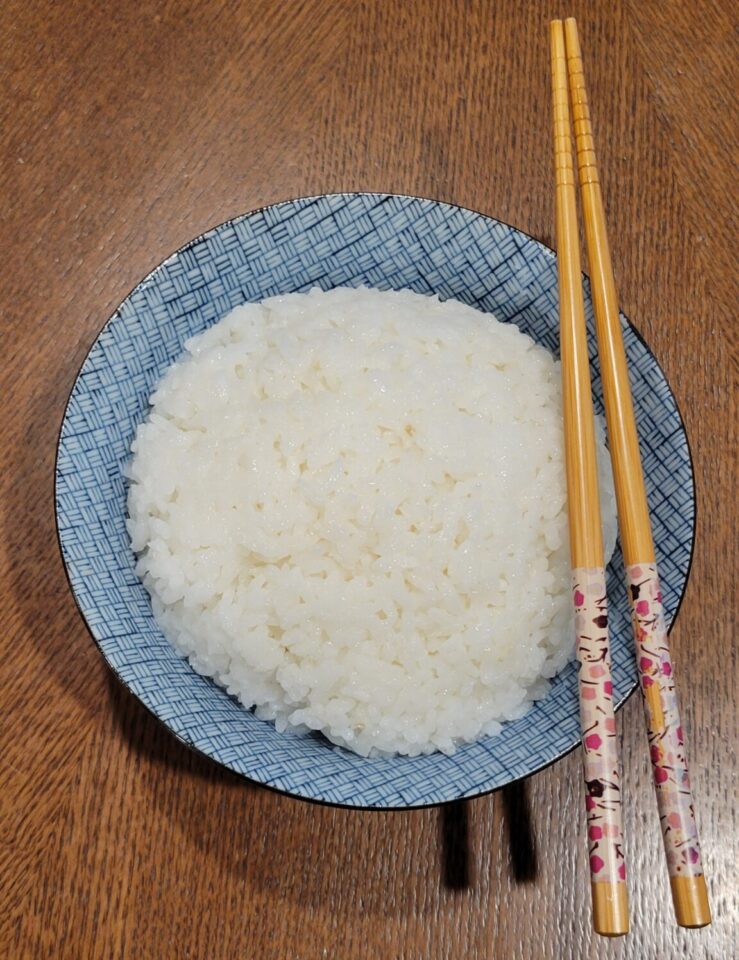
- Start the Rice Cooker and that’s it! Now wait for the cooker to be done and you’ll have yummy, cooked rice.

How to Make Rice 2 Ways
Ingredients
- 2 cups Water
- 1 1/2 cups Rice *see notes
Instructions
Cooking on the stove:
- Wash rice under clean cold water until the water is relatively clear.
- After the rice is well drained, transfer to the pot and add the appropriate amount of filtered water or until the waterline is 1cm above the rice surface.
- Set over a stove set on medium-high to high. Bring to a boil. About 5 to 8 minutes.
- Once boiling, turn heat to low, cover the pot with a lid, and simmer for 15 minutes.
- Turn heat off, remove lid and fluff rice gently, ensuring the rice at the bottom of the pot has been turned over. Preferably, cover the pot and let sit for 10 minutes over the hot stove surface before eating.
Cooking in a rice cooker:
- Wash rice under clean cold water until the water is relatively clear.
- After the rice is well drained, transfer to the Rice Cooker and add the appropriate amount of filtered water or until the waterline is 1cm above the rice surface.
- Set the cooker to the appropriate setting according to your manufacturer’s instructions.
- Start the Rice Cooker and that’s it! Now wait for the cooker to be done and you’ll have yummy, cooked rice.